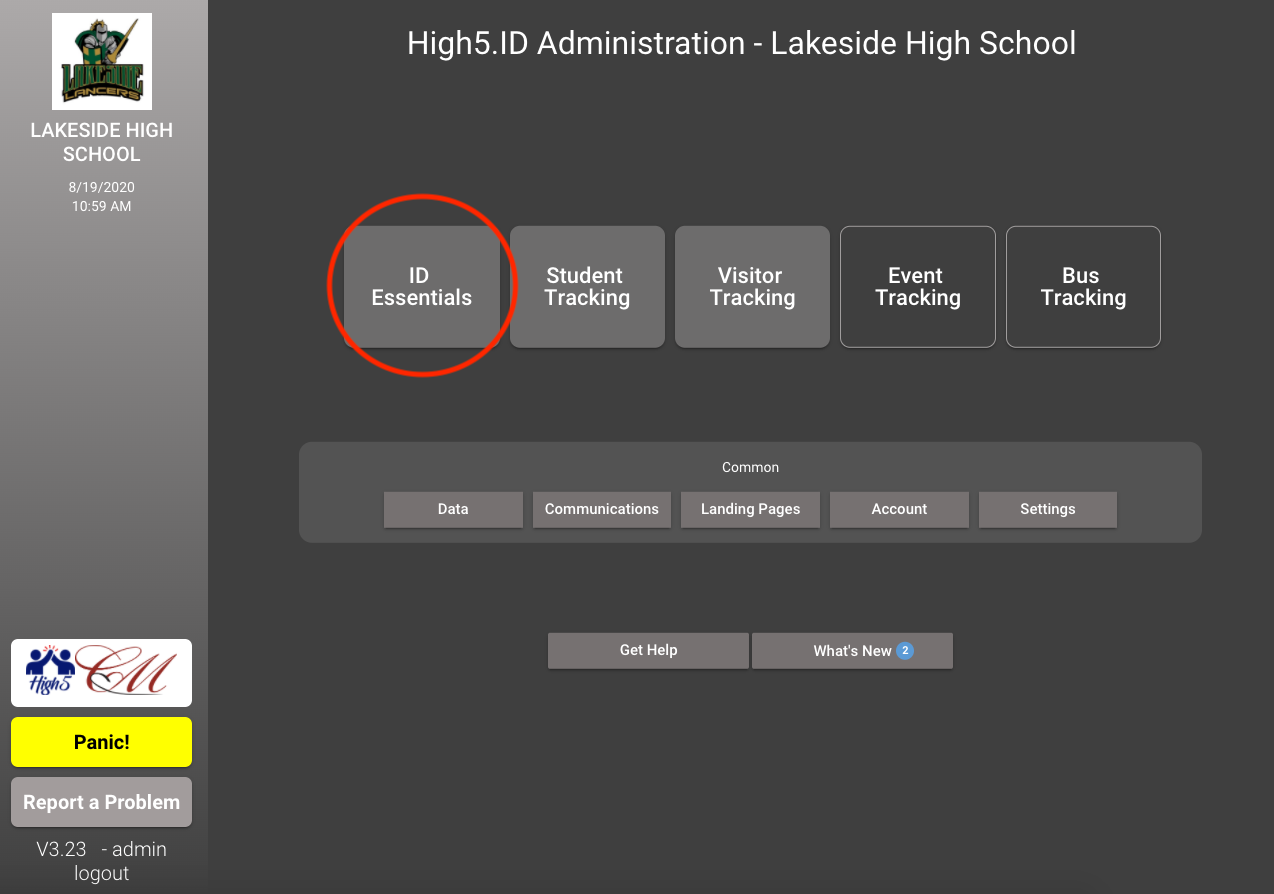
STEP 1: Once logged in, click on ID Essentials
STEP 2: Click on Review & Approve

STEP 3: Review the photos and ensure they are appropriate. To REJECT a photo, hover over the photo and click on Reject. It will add an X. Click on Approve these images when finished, and it will load a new page of images until you’re done.

STEP 4: At the end, click on SEND REJECTION NOTICE and it will notify the students who have been rejected via text message.

All student data is conveniently located inside the DATA button on the home page. Click on DATA to start.

You should be able to search for a student profile by typing in a student ID number, first name, last name, etc. You can also filter by students with photos/without photos, grade, etc.

ADDING A NEW STUDENT: Once you click on DATA from the main menu, click on ADD NEW INDIVIDUAL ON THE TOP LEFT. All we need is: First Name, Last Name, Grade, Student ID. MAKE SURE TO CLICK SAVE (on LEFT OF SCREEN)

RESET A PASSWORD: Sometimes students forget their password. Look up their profile, then click on ACTIONS, then click on RESET PASSWORD. This will allow the student to relogin using their student ID, and entering a new password.
REMOVE IMAGE: You can remove an image by clicking the red button. Remember to press save!

UPDATE ASB MEMBERSHIP: Look up student, then click on DETAILS. On the student’s profile, add a check to the ASB Membership Field, then click save. The ID card will automatically update.

We start out from the Main Menu. Click on ID Essentials.
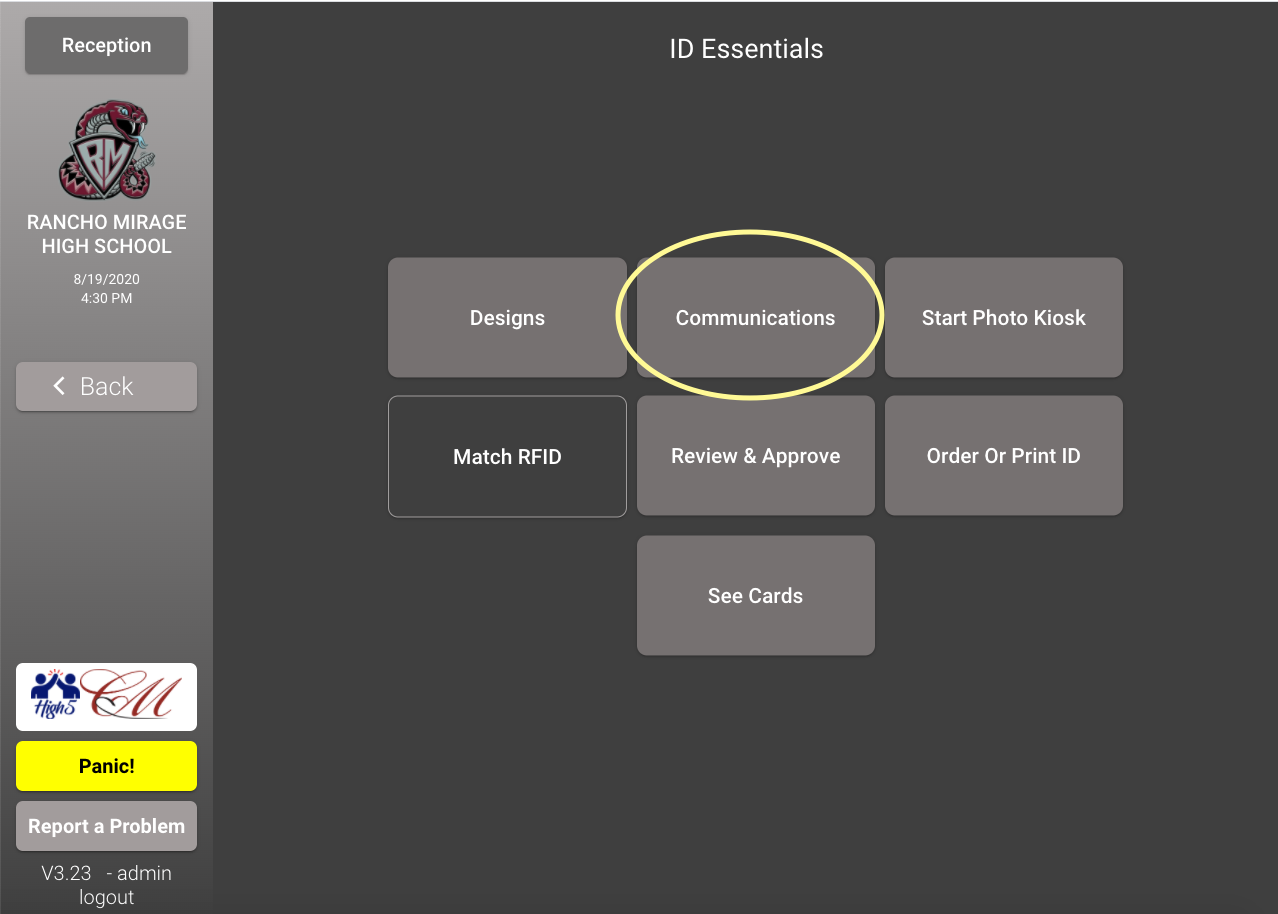
After clicking on ID Essentials, click on COMMUNICATIONS
It will load a page similar to the DATA tab. On the left side, click on Photo, and sort it by however you’d like. The number on the top middle will automatically update with the count. The number to your right is the total number of records we have.

STEP 1: Once logged in, click on ID Essentials

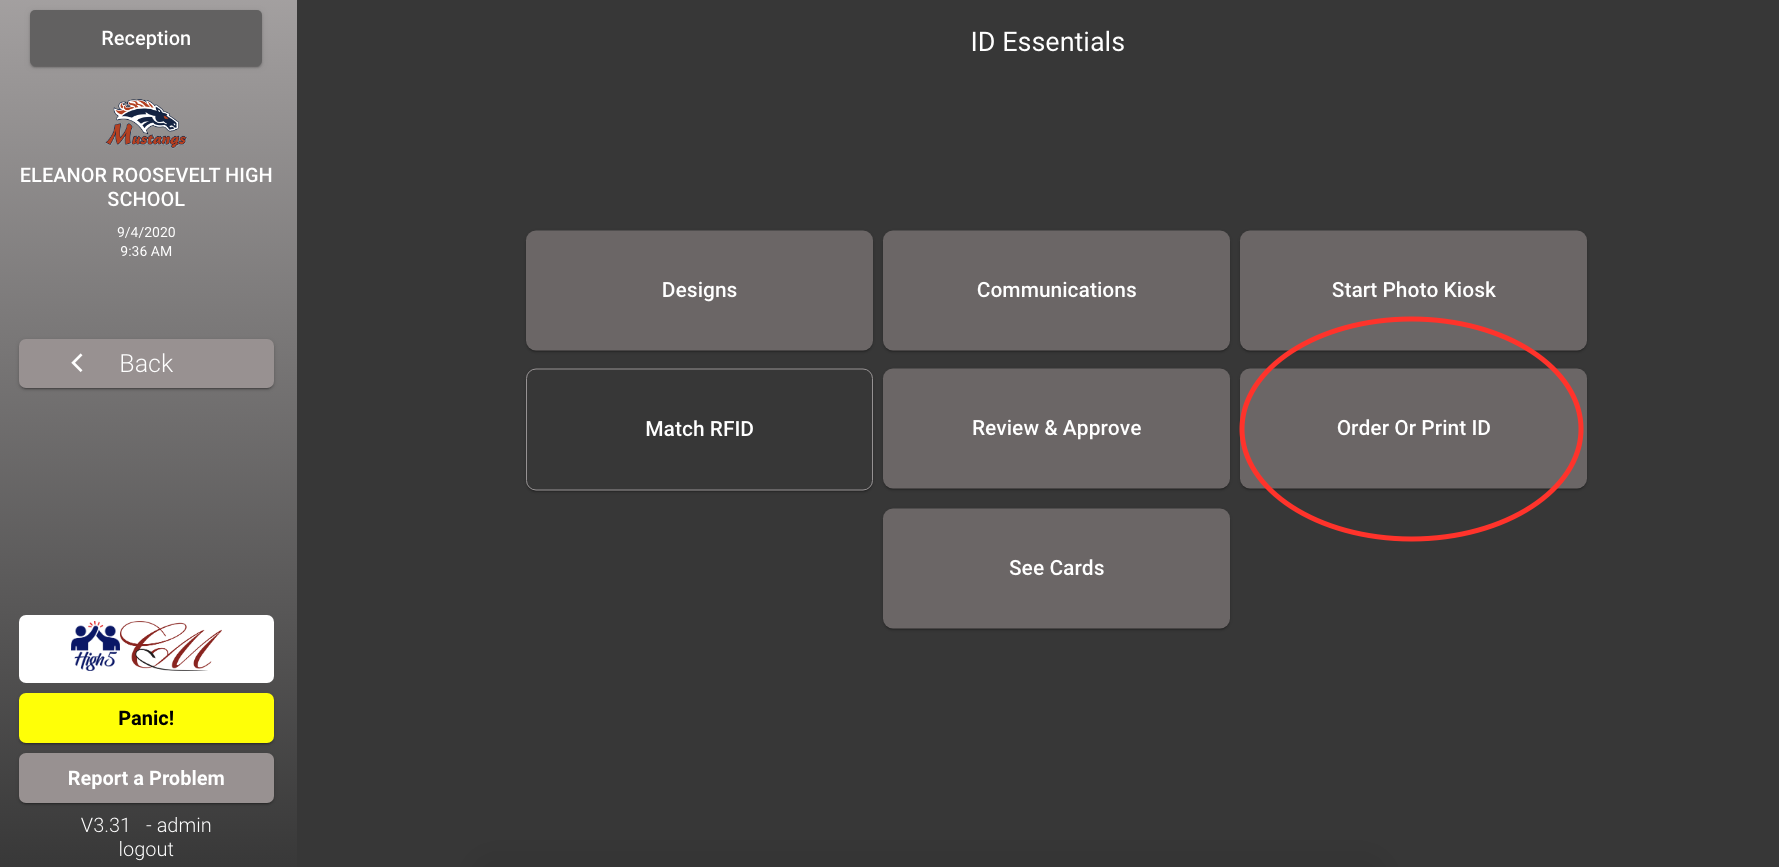
STEP 2: Click on Order & Print ID
STEP 3: Look up the subject by typing the name on the top left. Make sure to “checkmark” the subject(s) you wish to print, then press on output on the top right to go to the output screen.

STEP 4: Scroll to the bottom of the page, then click on GENERATE CARD. It will start a loading screen, then it will automatically download the file. You should be able to print straight from the PDF.

Why do we need to take a Digital ID Card?
What happens when I don't finish the process?
How do I retrieve my Digital ID card once I complete the process?
Why do I have to create a password?
What happens when I lose my link to access my digital ID?
My camera isn't working, or it's erroring out for some reason?
Try a different device by forwarding your personal link to your parents, sibling, or trusted friend. Just remember, all photos are reviewed by your school’s administration team, and can result in disciplinary action if you take an inappropriate photo, or a photo that is not you.